dual Satellite installation instruction for
How to find Shaw satellite signal with the
Find the Compass Azimuth, Elevation and Skew
Satellite Look Angles are listed for both Satellite A (107.3W longitude) and Satellite B (111.1W longitude). The reception of satellite signals in areas with a dish elevation less than 12 degrees may not be possible. All information is listed in degrees.
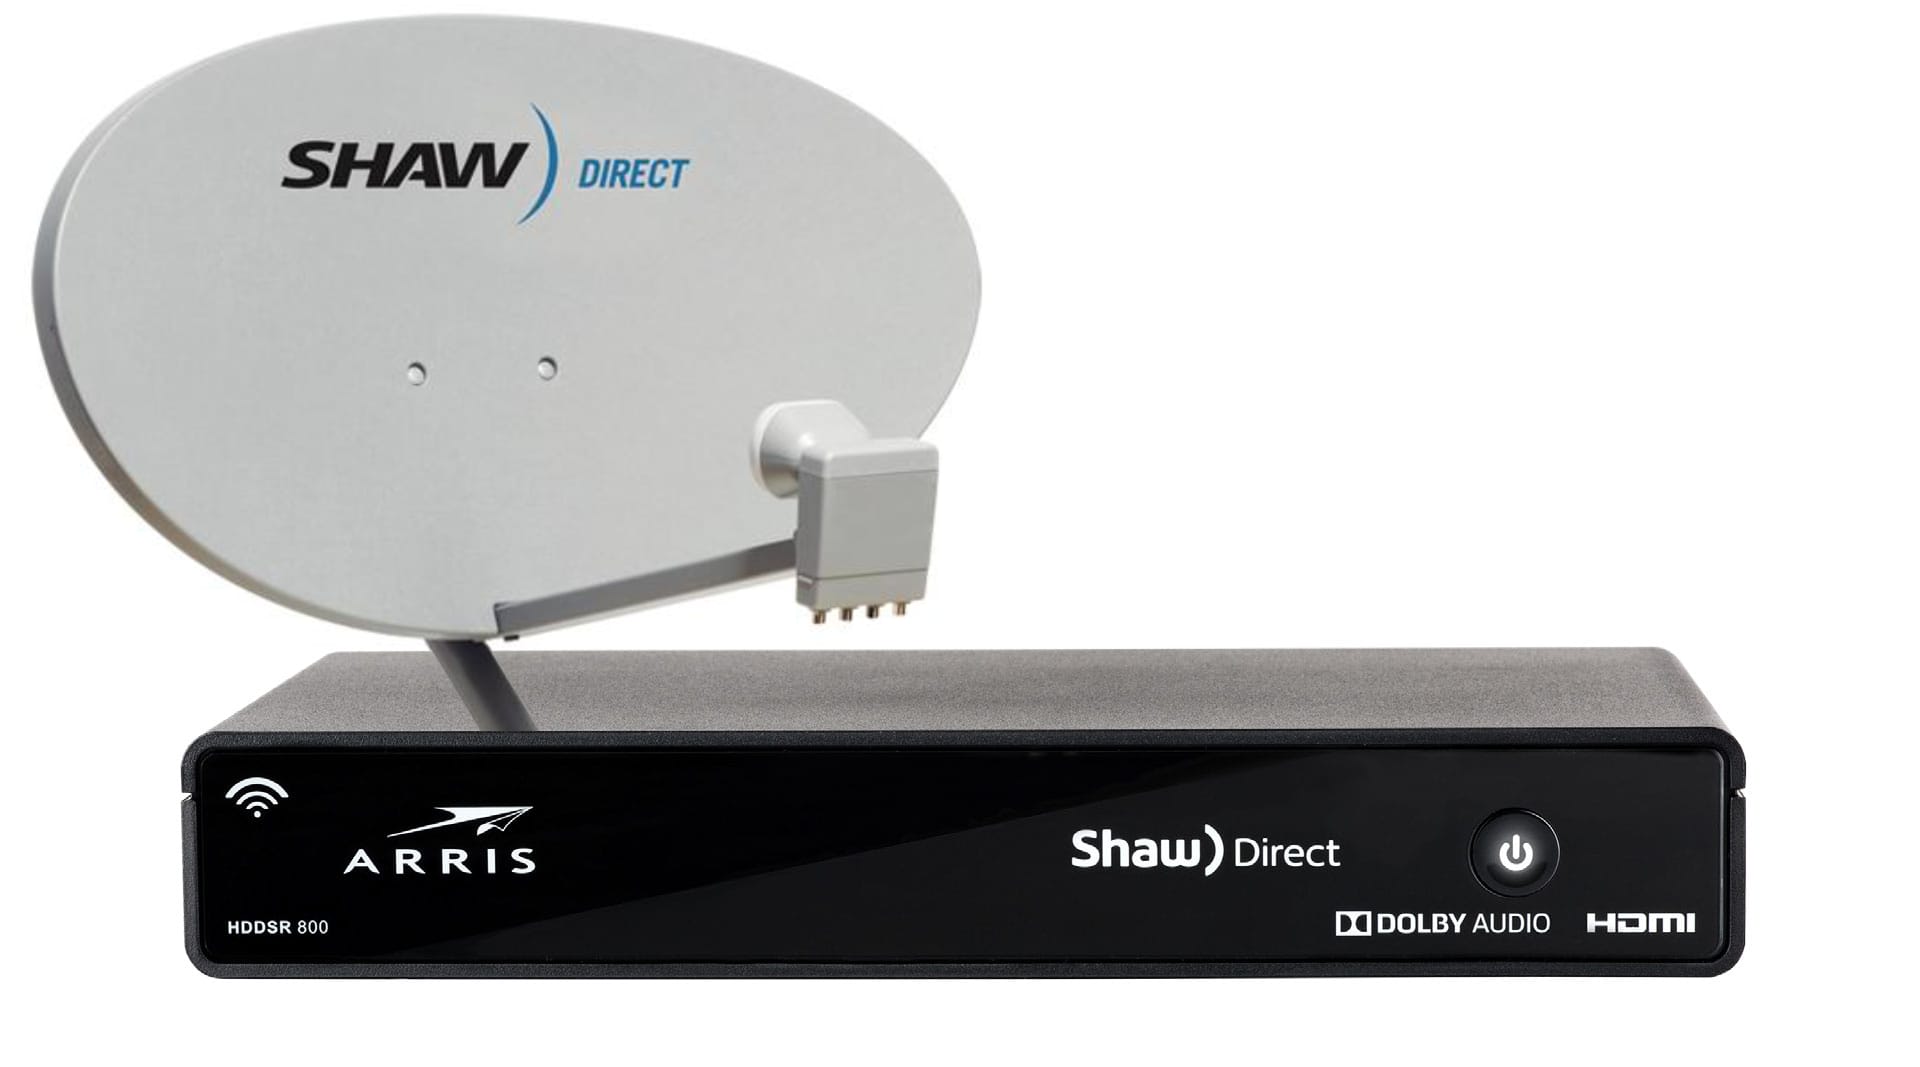
Your ultimate television experience is here! This easy step-by-step installation manual shows you how to set up your Shaw Direct satellite TV system and you’ll be enjoying amazing 100% digital satellite television in no time.
This Shaw Direct Installation Guide will provide all of the information required to setup your satellite system. This Guide provides all the information required to setup your satellite system. Basic skills in construction, wiring and assembly will also be required to successfully complete the installation.
We do not recommend installing the satellite dish on your roof, unless absolutely necessary. If you choose to mount the dish on the roof, we strongly recommend consulting a building or construction expert before installation.
All satellite dish systems must be properly grounded, particularly if the dish is close to or above the roof line. Improper grounding can result in damage or serious personal injury. National, provincial and local electrical codes may require you to ground the dish directly and to insert a grounding block in the coaxial cables running from the dish to the receiver inside the building. Before beginning installation, carefully read the section on grounding the dish
 Handtools such as a drill
 Determine whether waterpipes, electrical wiring or gaslines are close to the installation area
 Route coaxial cable through walls and under floors
 Compass, protractor and carpenter’s level
 Use a ladder to climb structures
 Know your local, provincial and national grounding codes
 If you do not have the experience to perform these tasks, contact
 #1 Philips screwdriver
 7/16 hex wrench, open or combination endElectric drill and bits Compass, protractor and carpenter’s level
*If you are installing a 75 cm dish, you will also require:

 Under power lines
 Where it may be easily tampered with
 Where it is exposed to high winds, during windy or stormy conditions
If your dish will be used in high wind conditions, be sure to choose a location where it cannot shake or move in the wind. Make sure the base is rigid and solid. Since this is a stationary device that may be exposed to high winds, make sure it can withstand potentially adverse weather.

The elliptical dish has a turn radius of +/- 35 degrees. If you are mounting the dish on the side of your house, check the assembled dish and mounting pole to see if you can rotate the dish in the desired azimuth setting. If you can’t rotate the dish, choose an alternate location.
*Always keep grounding requirements in mind.
We do not recommend mounting the dish on the roof unless absolutely necessary. We also recommend that you consult a building expert for future tips on preventing roof leakage.
To avoid losing any hardware components, select a clear area for dish assembly.
On the Universal Mount, insert the (2) 1/4 ̋ X 1/2 ̋ Carriage Head Bolts (Mast Adjusting Bolts), through the mast and the curved slot of the mount. Capture with (2) 1/4 ̋ External Tooth Washers and (2) 1/4 ̋ Whiz Nuts. Tighten the bolts just enough to hold in place (see Figure A).

Attach the dish to the Clamp Mount Assembly using the (2) 1/4 ̋ X 1-3/4 ̋ Long Carriage Head Bolts (Antenna Mounting Bolts-Painted Head), (2) 1/4 Flat Washers and (2) 1/4 ̋ Whiz Nuts. Ensure the Center Pivot Pin on the Clamp Mount Assembly is inserted in the mating hole of the Dish (see Figure B)

Before tightening the bolts, adjust the skew alignment to the 90 degree mark on the Clamp Mount Assembly (see Figure C). Tighten the bolts just enough to hold in place. You’ll have to make further adjustments to this setting later.

Attach the Feed Support Arm to the dish using the (1) 1/4 ̋ X 1-1/2 ̋ Hex Head Bolt (1), Spacer Sleeve, (1) 1/4 ̋ Flat Washer and (1) 1/4 ̋ Whiz Nut, making sure the Feed Support Arm and Spacer Sleeve are positioned as shown (See Figure D). Position the 2 plastic cable clips (packaged with the LNB) around the support arm to secure the coax cable(s) from the LNB to receiver.

You’ve just finished assembling the dish
Determine the direction in which to point the dish. The primary satellite (SAT A) is located at 107.3 west longitude; the secondary satellite (SAT B) will be located at 111.1 west longitude.
For dual satellite (elliptical) dish installation, use the Sat B azimuth, elevation and Skew listings in the dual Satellite Locator chart at the end of this page for the city nearest your location.
Use a compass to determine roughly where to point your dish.
Choose a dish installation location with a clear line of sight to both SAT B and SAT A based on the settings you recorded earlier. There should be no trees, buildings or other obstructions between the dish and the satellite. Do you have a clear line of sight to both SAT A and SAT B?
To ensure an accurate compass reading, stay away from large metal objects. To double-check accuracy, take multiple readings several feet apart.
At the dish install site, hold a compass level and still in the palm of your hand. When the needle stops rotating (dark half of the needle always points north), slowly rotate the body of the compass so that the “N ̋ marking is aligned with the dark half of the needle.
Locate the tick mark on the compass edge corresponding to the SAT B azimuth number you wrote down earlier (see Figure F). This is the direction in which to point your dish to receive both SAT A and SAT B signals.

Estimate the SAT B elevation (angle) setting you recorded earlier, using a protractor if needed (see Figure G). Check any obstructions at that elevation. If there are obstructions, then select an alternate location for the dish.

If you prefer a more technologically advanced approach to aligning your dish, the Shaw Direct Satellite Finder App is an alternative. This app simplifies the process, making it more precise and user-friendly.
Download the app. The app will request access to your location to provide accurate alignment information. Once you grant access, select the Shaw Direct satellites (SAT A and SAT B) from the extensive list of satellites.


The app will then provide you with the exact azimuth and elevation angles for your location, eliminating the need for guesswork or complex calculations. It also includes a built-in compass to help you align your dish accurately.
One of the standout features of this app is its augmented reality (AR) mode. When you activate this mode and point your device's camera towards the sky, the app overlays the satellite's position on your camera view. This makes it incredibly easy to visualize the line of sight from your dish to the satellite, helping you avoid any potential obstructions.
When evaluating the install location, make sure there are no trees, branches or objects visually obstructing the dish and the general direction of the satellite. Also, keep in mind that trees grow up and outward and may eventually block the signal.
You’ve just completed locating a site for your Shaw Direct dish.
Ensure mast is plumb before drilling any holes. Hold the Universal Mount in place on the mounting area. Use a carpenter’s level to plumb the antenna mast’s straight section. If the bubble levels (horizontal and vertical) are not centered, rotate the mast (in the curved slot) until it is plumb. Lock it in place by securely tightening the Mast Adjusting Bolts (see Figure H).

Drill holes in the structure on which you are mounting the dish to match the holes in the base of the Universal Mount.
Secure the Universal Mount with appropriate surface screws. Check the mount for movement. An improperly secured mount will affect dish performance.
Slide the Dish/Clamp Mount Assembly onto the mast by loosening the (2) Azimuth Clamp Bolts (see Figure C) and the Elevation Pivot Bolt just enough to slide the assembly until it makes contact with the Elevation Pivot Bolt (see Figure I). Tighten the Elevation Pivot Bolt just enough to hold it in place on the mast.
Loosen the Elevation Adjustment Bolt 1/3 turn from tight on either side of the Clamp Mount Assembly. Adjust the Clamp Mount Assembly to the edge of the white indicator line per the SAT B elevation setting you recorded earlier. Tighten the Elevation Adjustment Bolt (see Figure I).

Attach the Quad Satellite LNB/Feedhorn Clamp Assembly to the Feed Support Arm. Loosen the Feed Arm screw enough to allow the clamp to fit snugly into the Feed Support Arm. Securely tighten the Feed Arm screw.
Using your compass, point the LNB in the direction corresponding to the SAT B azimuth setting (see Figure J).
Draw a vertical mark overlapping the Clamp Mount Assembly and the mast. This mark will provide you with the approximate satellite location reference point when you are ready to tune to the satellite.

Loosen the Skew Adjustment Bolts on either side of the Clamp Mount Assembly. Adjust the Skew Alignment Mark with the scale indicator to the SAT B skew setting you recorded earlier. Finally, lock it in place by securely tightening the Skew Adjustment Bolts.
Do not make any further adjustments to the Skew Setting from this point onward.
After making the permanent skew adjustment, install the (2) Hex Head Hi/Lo Screws in the dish boss holes (see Figure C). Four boss holes are available but you’ll only need to use two (the other two may be obstructed depending on the skew setting). Do not over tighten Hi/Lo Screws.
You’ve just finished attaching the dish to the Universal Mount
Easy guide and tips describing step by step how to connect and activate your Shaw Direct HD receiver...
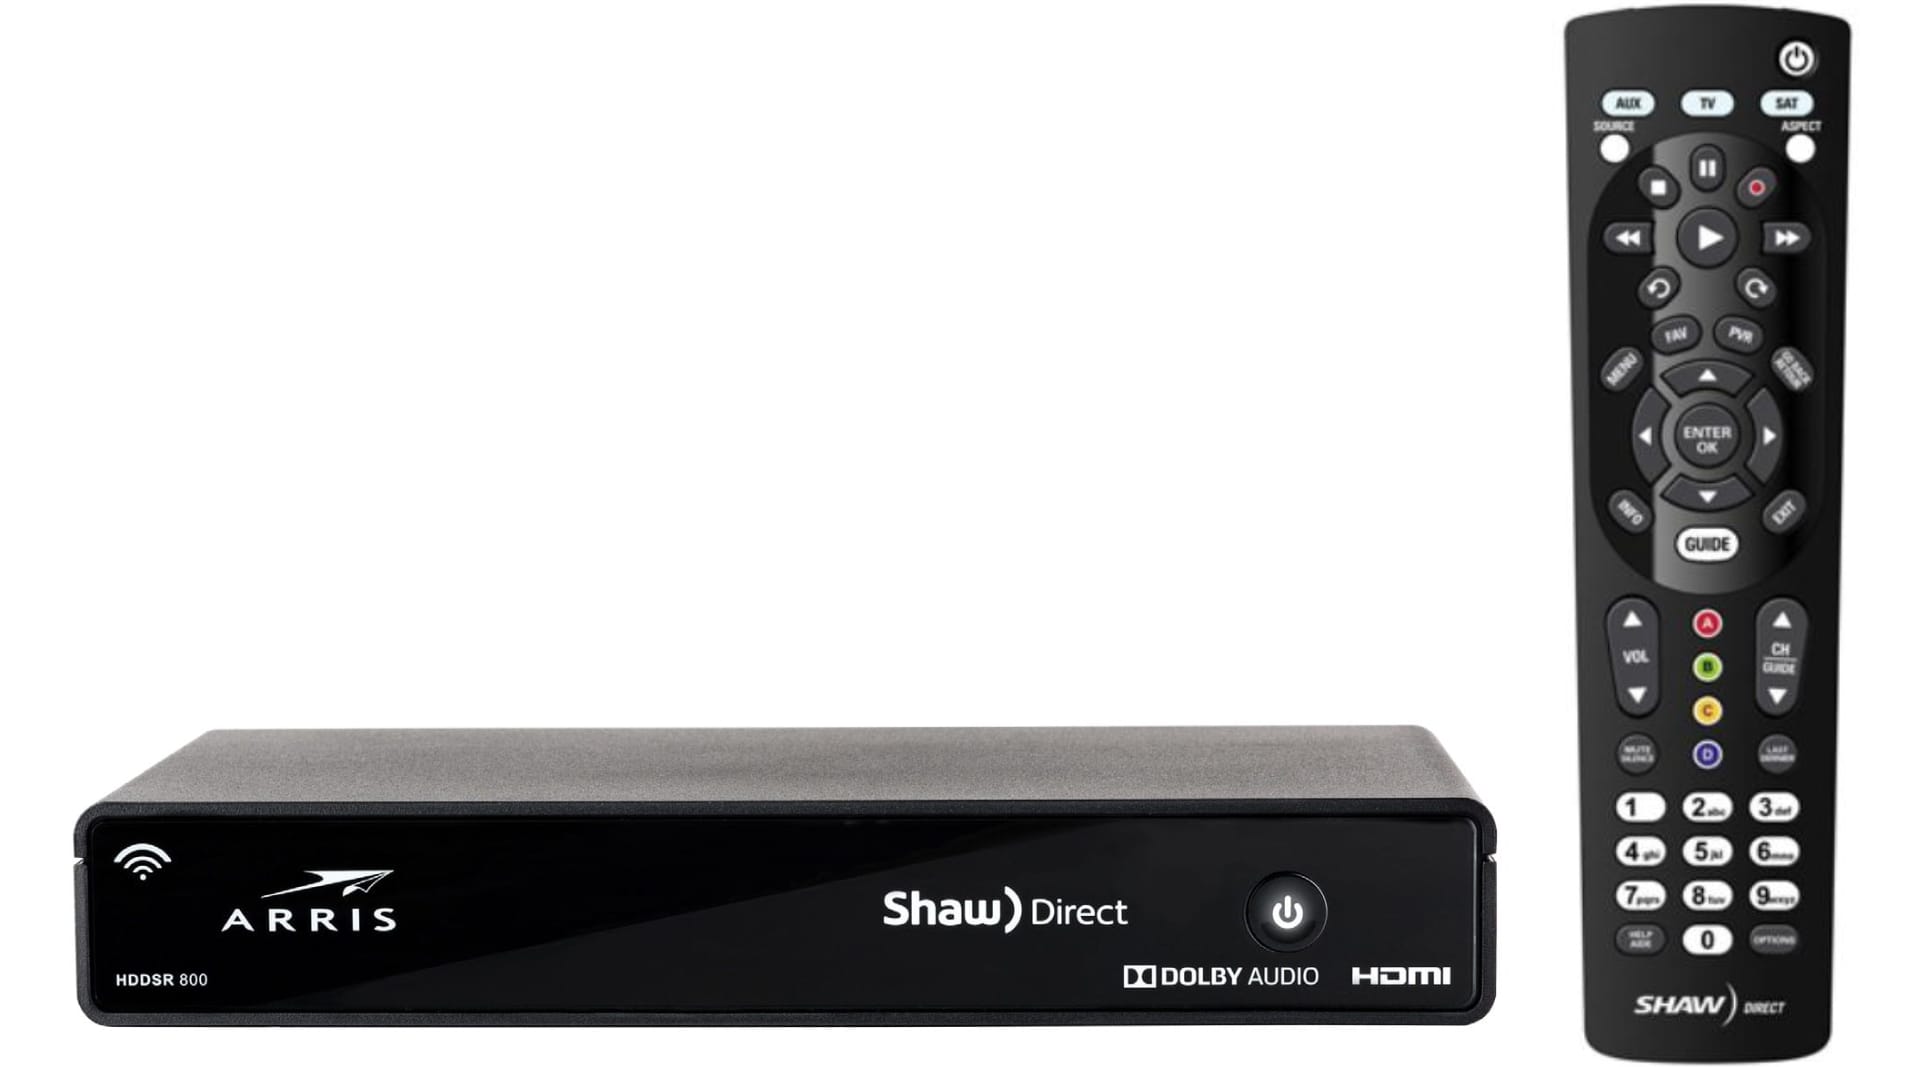
Easy guide and tips outlining step by step how your Shaw Direct IRC 600 or URC 600 controller...
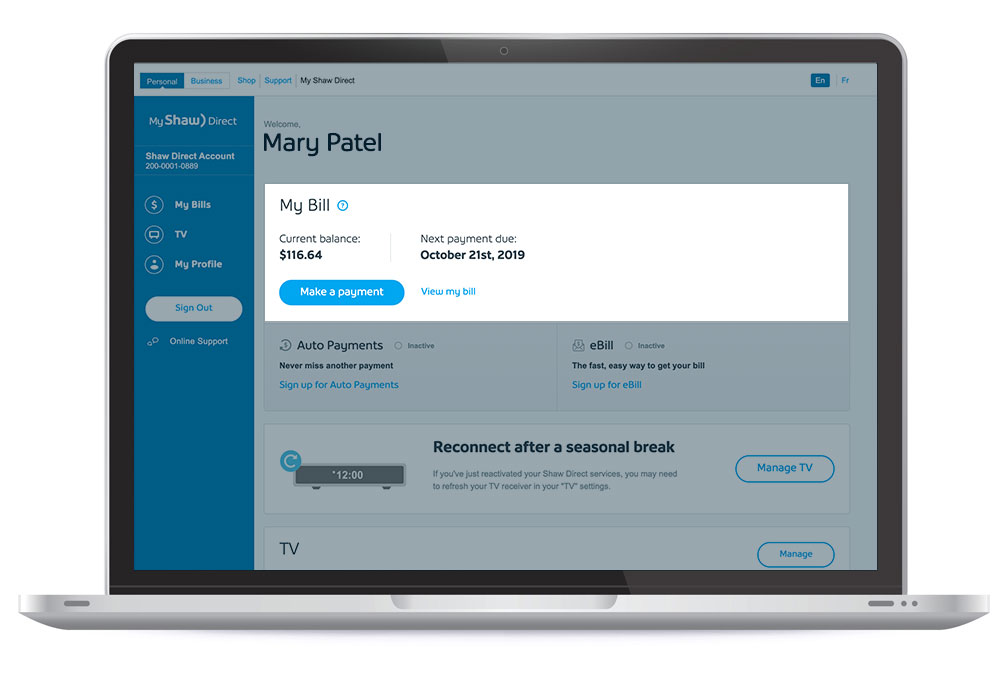
How to log in to your Shaw Direct account and manage your bills. Access payment options...
Still have problems? Contact Shaw Direct at 1.888.554.7827 and a qualified Technical Service Representative will be happy to assist you.

4.7/5 out of 254 reviews